Mike Thoreson is our resident weathering specialist at DMG, but that doesn’t mean the rest of us can’t have some fun too! And so can you with a smaller palette than you might think.
My main layout is the Black Hills and Fort Pierre in HOn3, but I do have a selection of models in On30/On3 as well which sit on display shelves alongside some of my HO standard gauge equipment. I’d like to customize a lot of these models and one of the best ways to make a model look unique is to weather it. At the same time, I recently acquired a basic airbrush and a spray booth that folds down into a small package. Yay for portability! While the overall set up cost me about $500 with brand new equipment from the local hobby shop, I feel it is worth it.
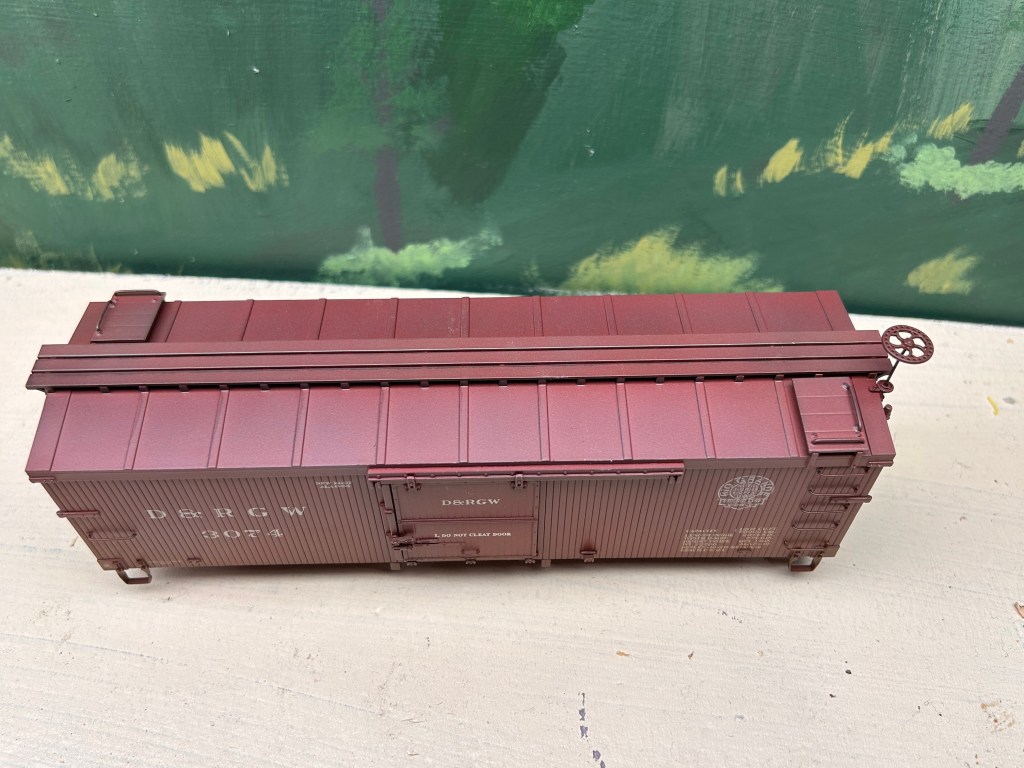
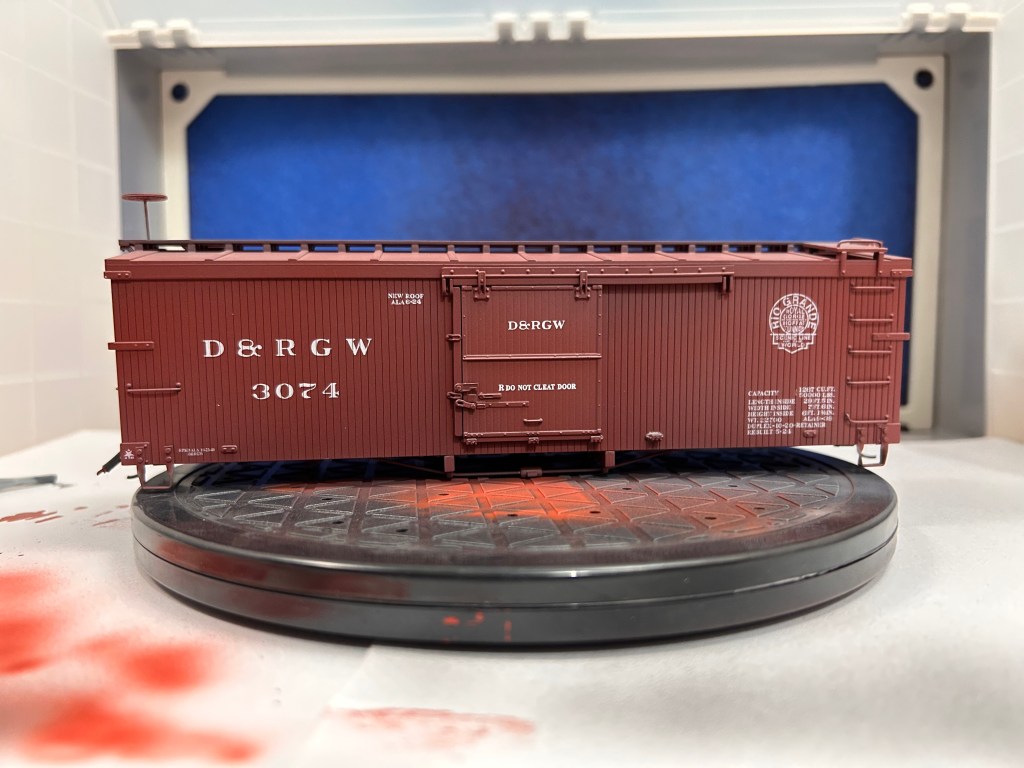
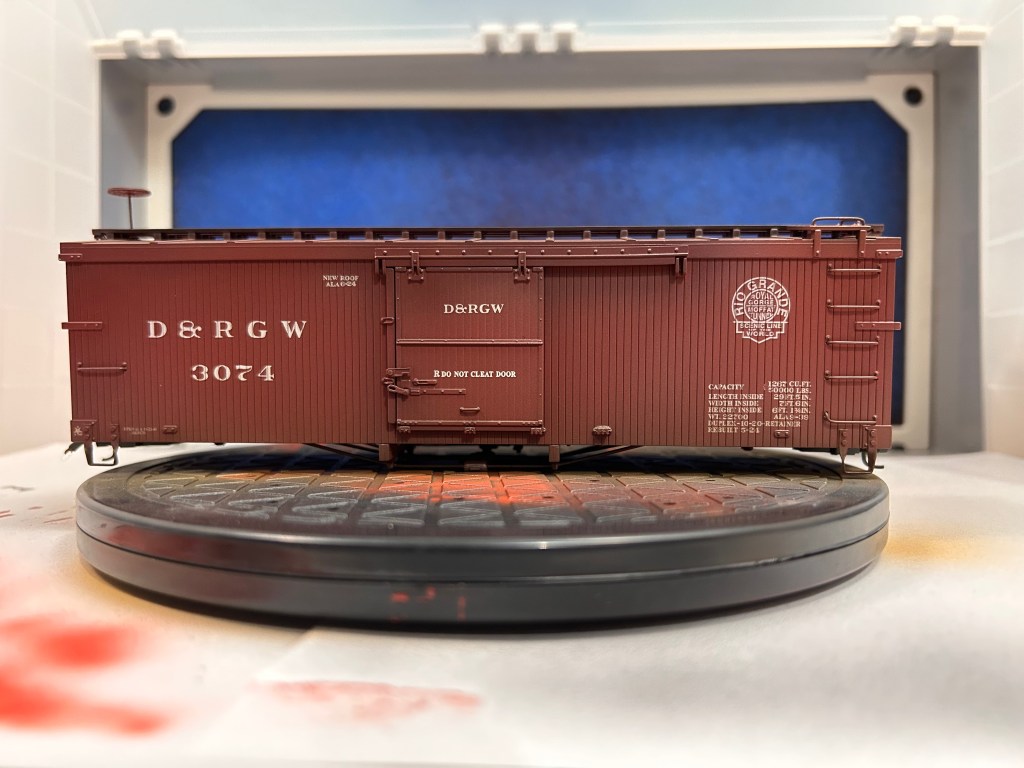
Of course, using an airbrush can feel intimidating. I was sure intimidated until I got the hang of the basics of painting with the air brush with a few practice runs. Confident enough in my skills, I decided up my game by weathering a piece of rolling stock. The model I chose is a 3000-series DRGW boxcar by Accucraft that is equipped to run on On30. These models are unique in the On30 market because they are scale-sized. Bachmann, the biggest name in On30, tends to undersize their equipment based on 3ft gauge prototypes and oversize their equipment based on 2ft gauge prototypes. While all their stuff plays well together, it also means very little of what they offer is the proper size. Head-on, Accucraft On30 cars look too wide for their gauge, but when viewed from the side it is hard to tell the difference between On30 and On3.
http://www.accucraft.com/modelc/AM52-010-BOX-CAR.htm#page=page-1
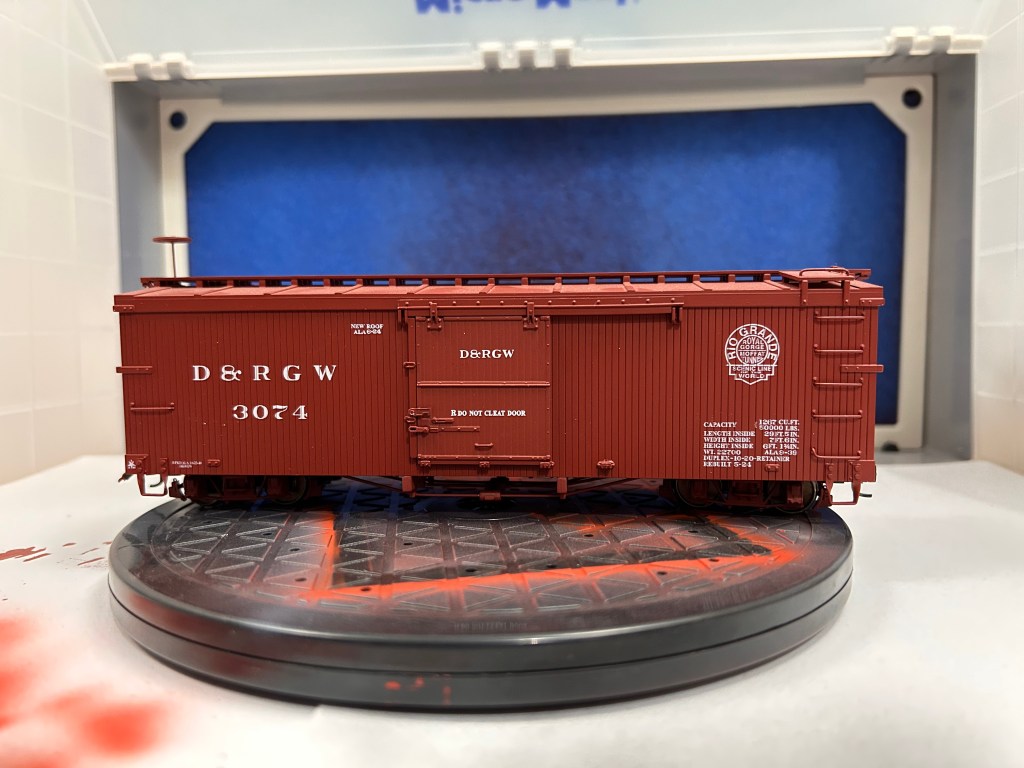
Anyway, Accucraft makes great models and there wasn’t anything I needed to do to prepare other than to dust off the model, wipe it down to remove any oils from my fingers, and remove the trucks so that they could be painted separately. Most people have a tendency to go overboard with their color palette when they first start painting, but a little secret from the pros is that a limited palette is actually better. This applies to weathering and to general painting. The DRGW, being a western railroad, tends to collect a lot of dust. Their equipment also tends to be out in the sun a lot. This made the first two colors and easy choice. I needed a gray of some sort to fade the paint and I needed a tan of some kind to simulate dust and dirt. I threw in black to round out my trio. Why black? That is the color that grease and lubricant tends to take over time, which means the brake gear, couplers, trucks, and moving components on the boxcar doors all need a little splash of black. The roof also needed black because in the era of steam the roofs of rolling stock would be regularly bathed in cinders and coal dust from the locomotive.
| Tru-Color Code | Color |
| TCP-007 | Primer (medium gray) |
| TCP-401 | Matt Dirt |
| TCP-171 | Weathered Black |
All three colors are from Tru-Color. A product line of pre-diluted paints for airbrushing that began in 2008 and has grown to include paints for all types of model making. I’ll admit that the paint is pricey and similar results can be had with Testors paints and paint thinner, but Tru-Color is what I have in stock so that’s what I used.
First Layer, Gray
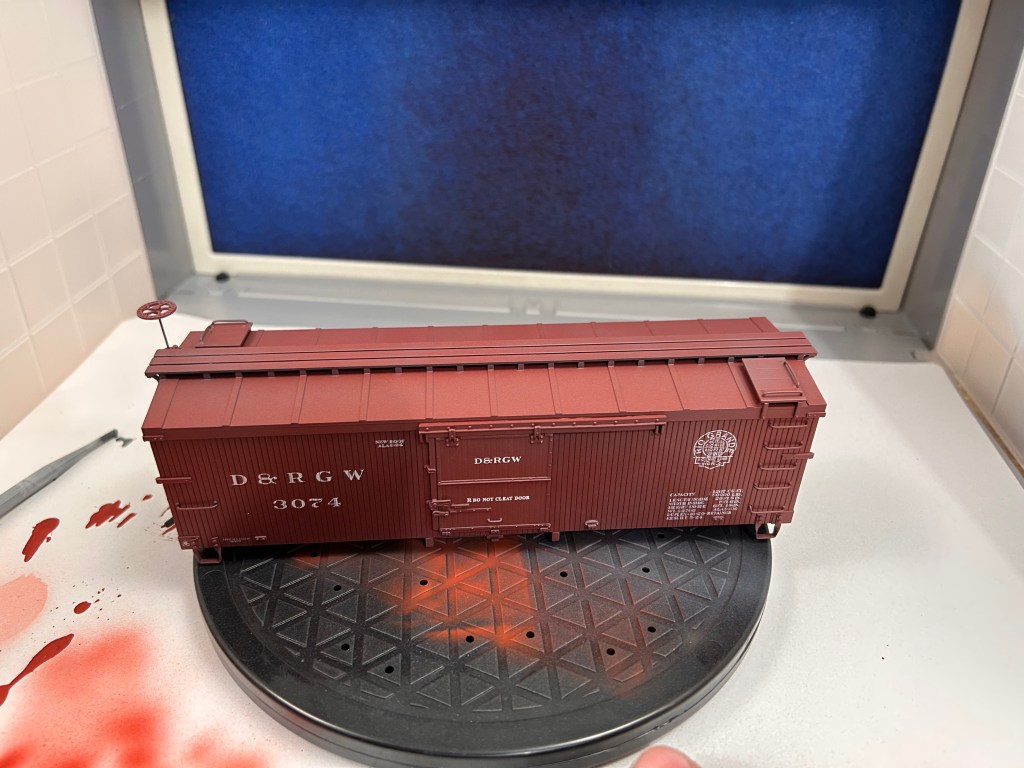
To dull the paint, my first layer was gray primer. This became a general coating over the whole car. I did focus on dulling the logos and lettering as well as giving the subsequent layer of paint a good foundation along the bottom edges of the car. If I had to do this again, I’d add some oxide red and use a lighter shade of gray, such as cement. This would do a better job of sun-fading the factory paint. But for a first try I say the gray primer did its job.
To apply this layer, I held the brush back about six inches and let loose with a cloud of gray. I did not dilute the primer.
Second Layer, Tan
While wood, paint, and lettering fades over time, rolling stock is continuously exposed to dust and dirt. Because of this, most rolling stock has a healthy amount of dust on their roofs, undercarriage, and the bottom half of the car. Unlike the gray primer, I was more focused on my application of tan, focusing in the areas mentioned. I still gave those areas a general coating, however, which let the paint fall over a large area.
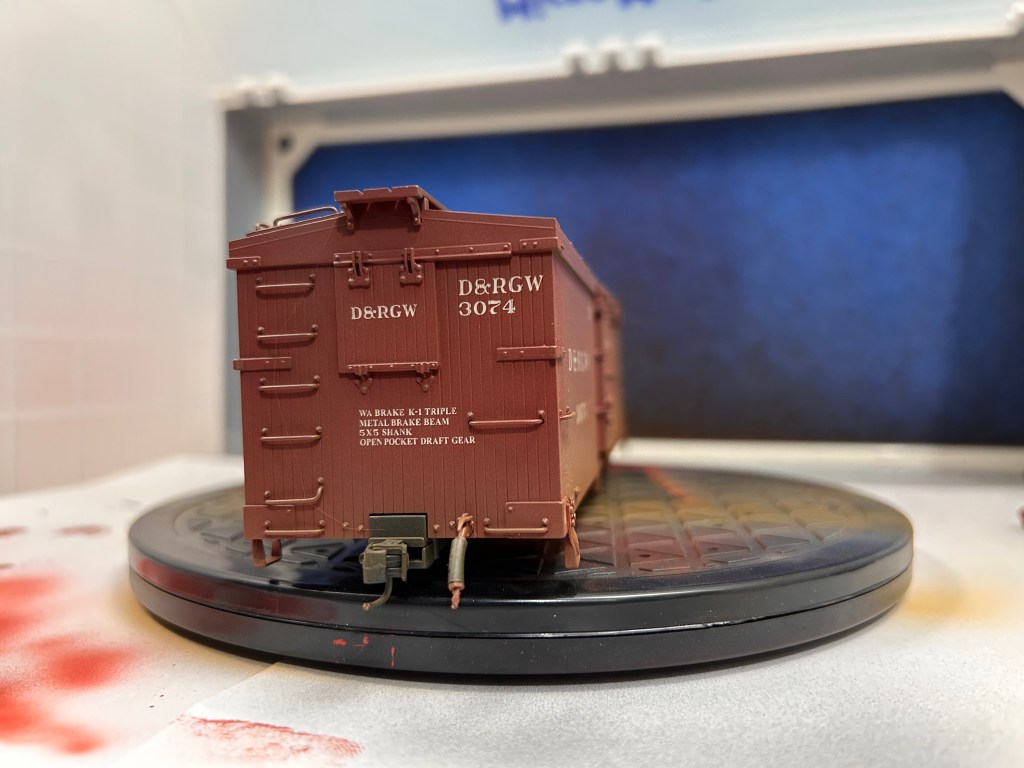
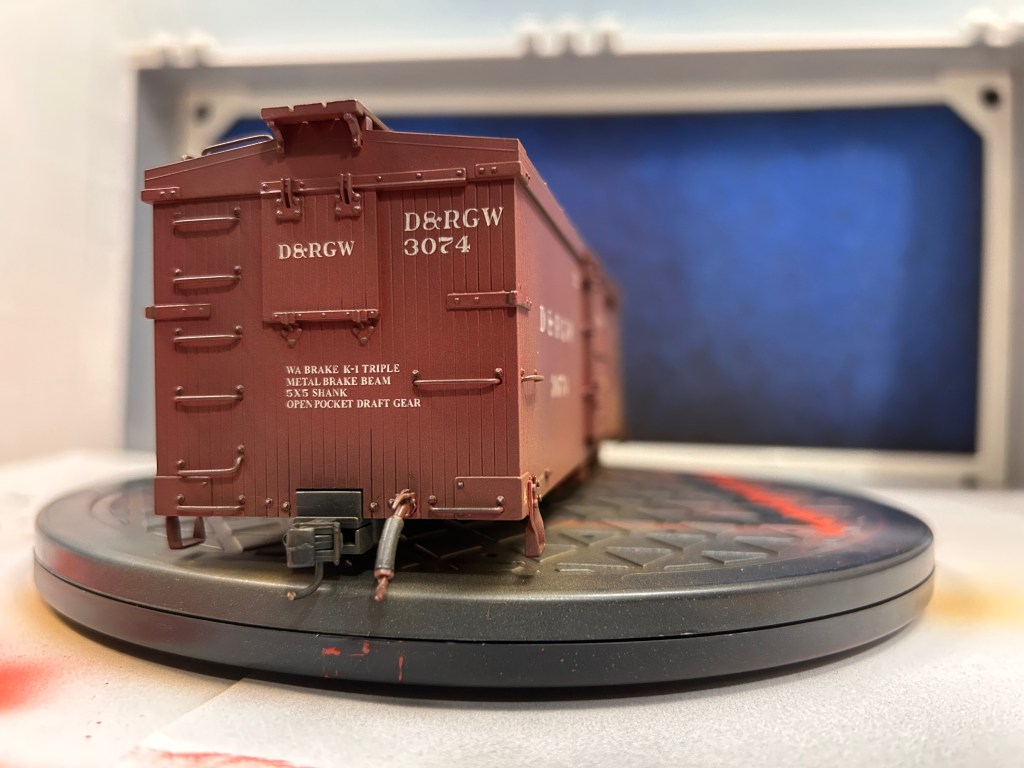
One way I deviate from a lot of modelers is painting the ends of the cars. General advice for model railroaders weathering their fleet is to apply a pair of streaks of mud up the ends of each car in line with the wheels. Why? Because when a train is moving at speed, any mud and dirt gets flung from the wheels of one car up the ends of adjacent cars. Narrow gauge trains don’t move that quick, though. A K-36 was limited to 35 mph by the DRGW. They could go a bit faster, but usually trains were doing 30-35mph on straight and level track and 15-20mph on gradients and sharp curves. Simply put, freight cars generally weren’t going fast enough to get brown streaks up the ends of each car. At those speeds, dirt tends to accumulate near the bottom third of the cars, which is where I am applying paint anyway.
After painting the car, I also painted the truck frames. These needed a lot of paint because, unlike the top halves of the cars, the undercarriage and trucks picked up a lot of dirt over time.


Third Layer, Weathered Black
Finally, I painted the car with diluted black paint. I diluted the Tru-Color weathered black by about 1:6, giving me a very thing, weak black color to work with. In the case of weathering, this is a good thing. Where you might need a gallon of white, you need only an ounce of black. It is far better to do too little than to do too much, a mistake I’ve made repeatedly when weathering using craft acrylics.
I went about applying thin layers of my diluted black wash to the bottom edges of the boxcar, the brake gear, knuckle couplers, hoses, the hinges and latch of the end door, the rollers and the latches of the side doors. I also applied a quick line of black paint to the roller tracks. These were areas that were often greased and collected dirt that quickly turned black once trapped by the lubricant.
On the trucks, I applied a general layer of black all over. A thicker layer of black was applied to the wheel sets with a regular brush to get rid of the shine that factory wheelsets have. If I were to add a fourth color, it would be rust brown specifically for the wheelsets and key hardware on the car body. As it stands though I felt the black was adequate for the task.
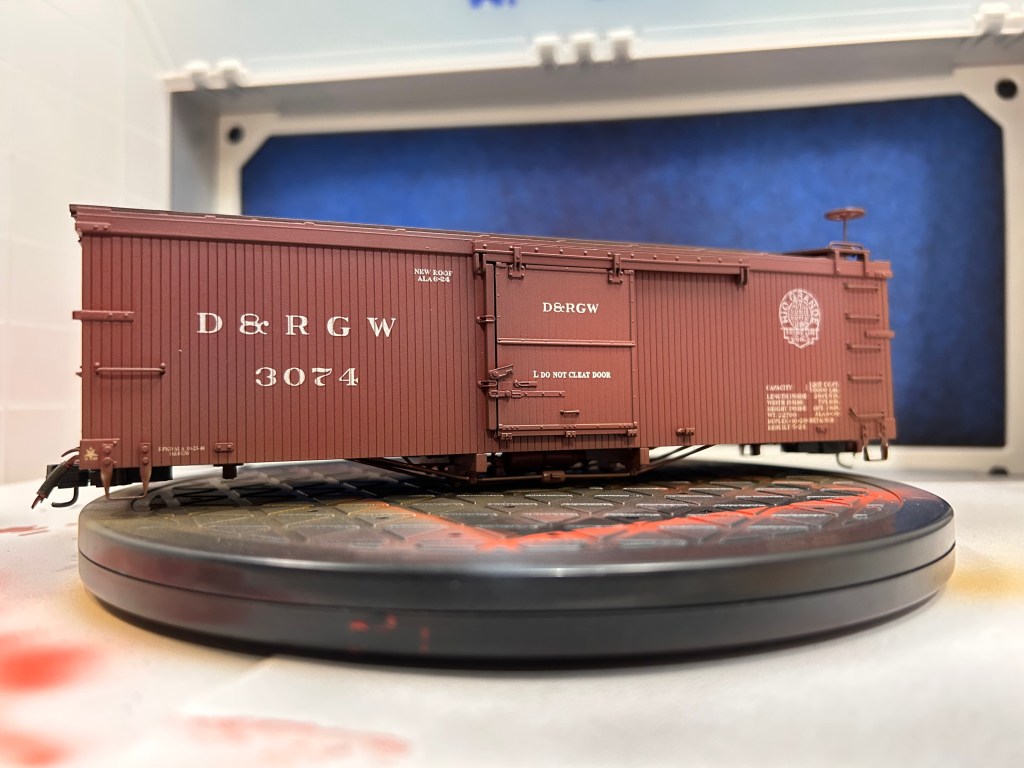
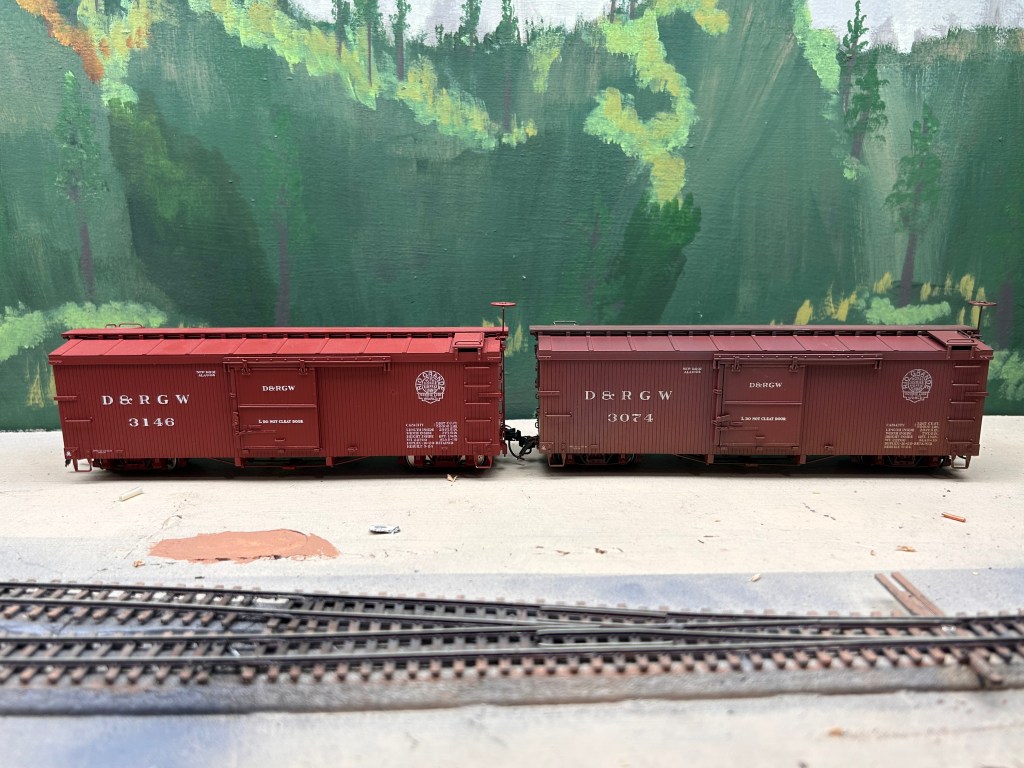
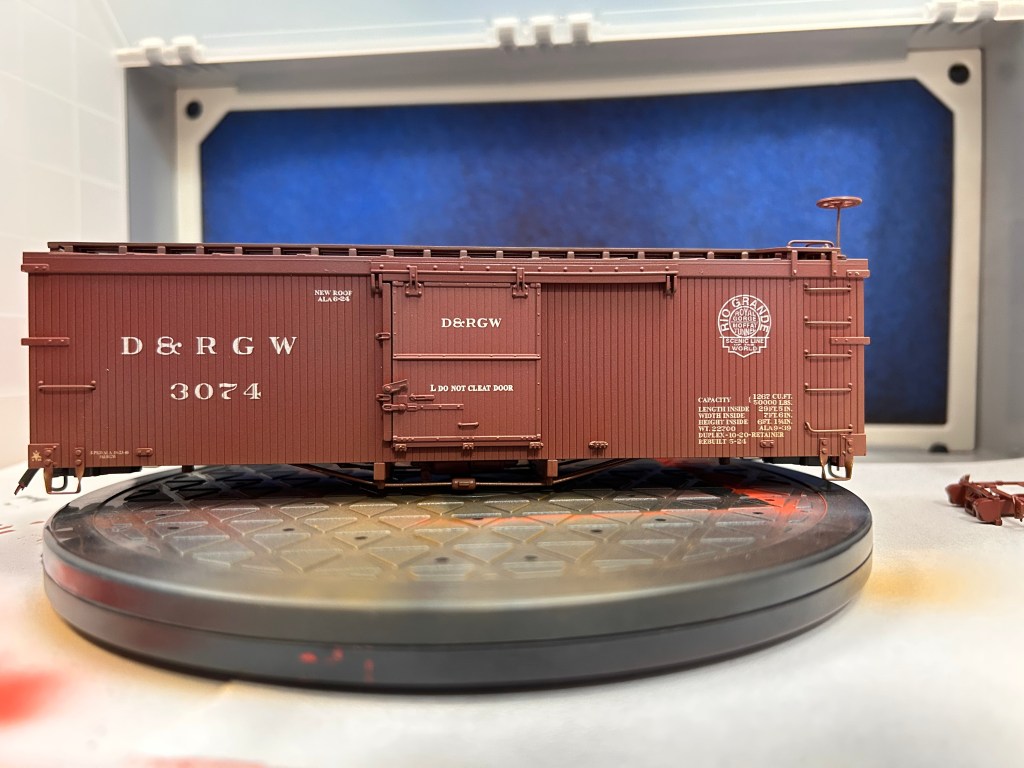
Final Results
Some might say good results come despite a limited palette. Sticking to a handful of colors is, after all, a time-tested lesson for artists around the world. However, I would argue that good results with an airbrush come from a limited palette. If I had the ability to use dozens of colors, I’d likely end up with a car that looked ugly. Besides that, we should remember that model railroading is a hobby. It should be something people can enjoy in their free time, and most of us don’t have five or six hours a day to sit down and build award-winning models. What we do have is a half hour here or there, and that’s all I needed to get this model done. In fact, stripping down the airbrush and cleaning it took almost as long as the actual paint job. Heck, writing up this article took longer than the weathering job! Smaller scales can be done quicker. I look forward to being able to weather three or four HOn3 cars at once using the same paint.
So, if you got an airbrush for Christmas and are looking for a simple project to test it out, my recommendation is to try weathering a piece of rolling stock. Pick three colors out of the hobby shop and some paint thinner, then don’t forget to wear a mask!