OVERVIEW:
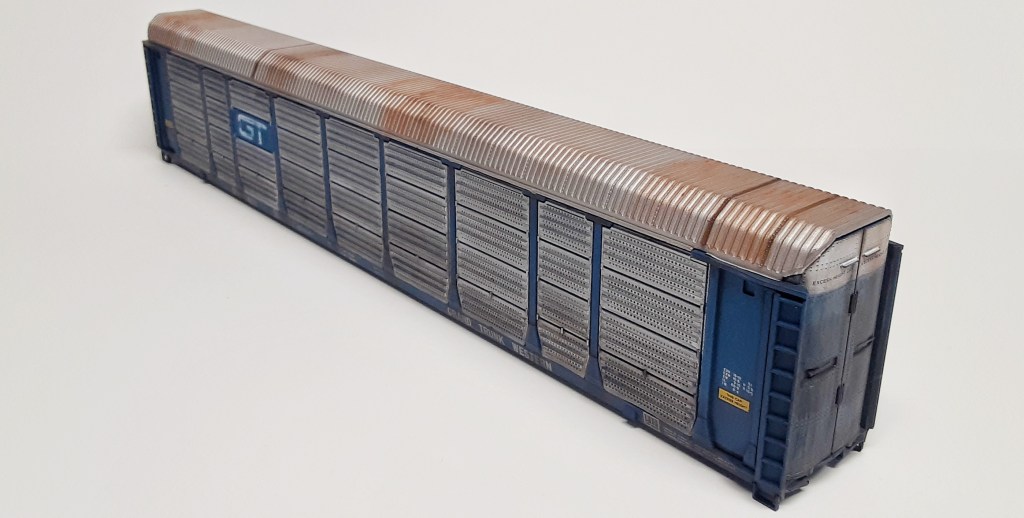
I began this project to try something different. The subject is a new old stock HO scale Walthers well car kit from 1992. This is definitely different for me since I don’t model any intermodal traffic.
MY PROCESS:
I got this kit and started assessing it and how it should look based on prototype photos. When I had looked at a bunch of images (what felt like thousands) I began assembling it and taking time to let the plastic weld and CA cure fully before going too far and risking damaging a part.
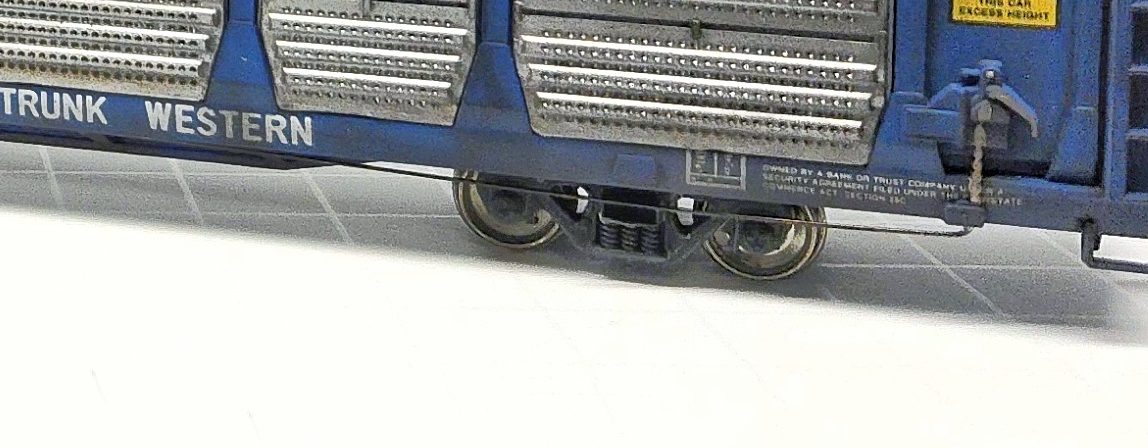
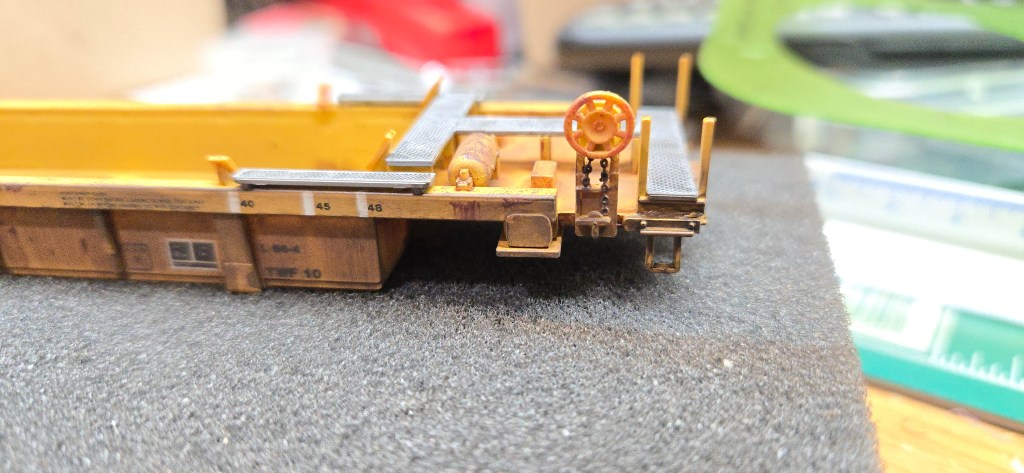
I weathered the trucks and wheels first. Added just a touch of rusty iron paint to the molded springs for contrast and some black Tamiya panel line accent was added in the crevices to darken them. I also painted the molded brake chain with the same rusty iron color.
Since the brake wheel on some of these was orange I mixed a faded orange color and dry brushed it to give the illusion of sun fade.


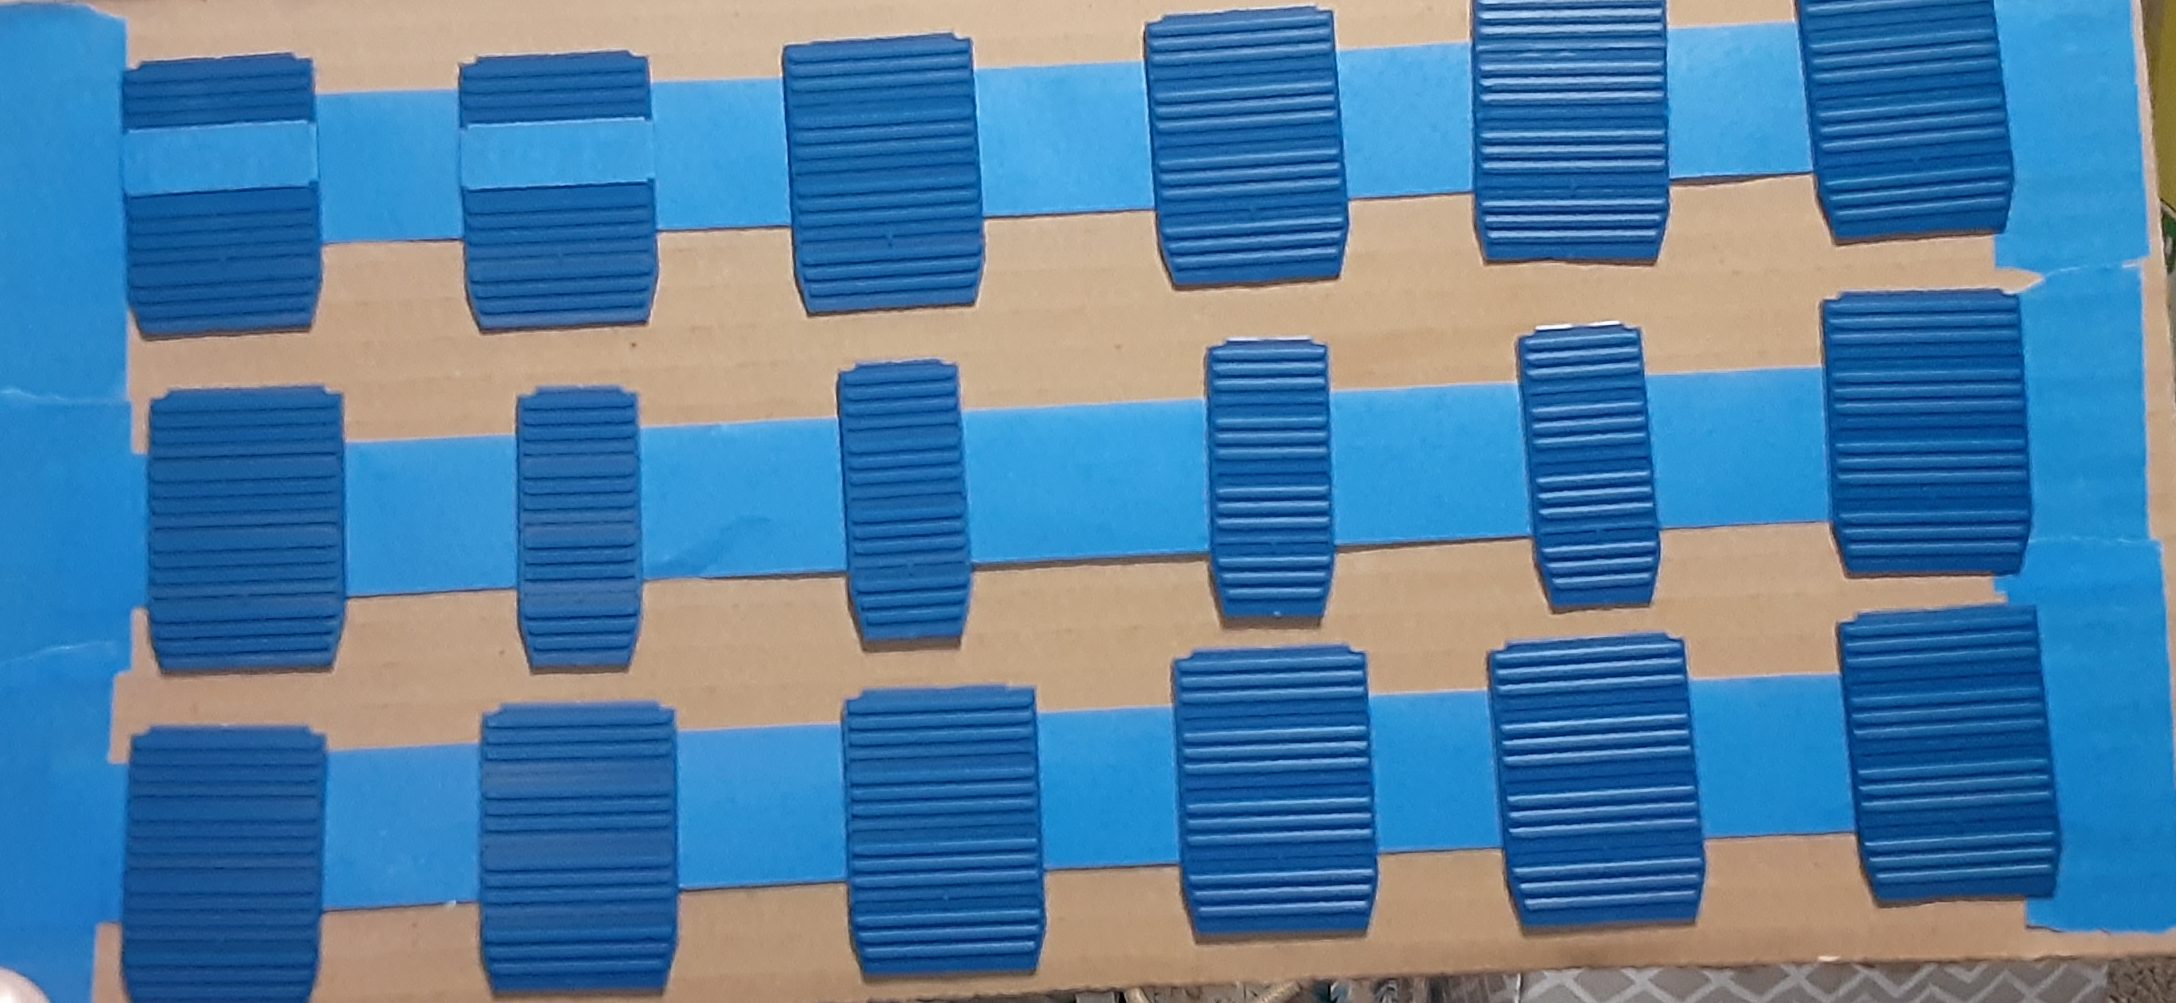
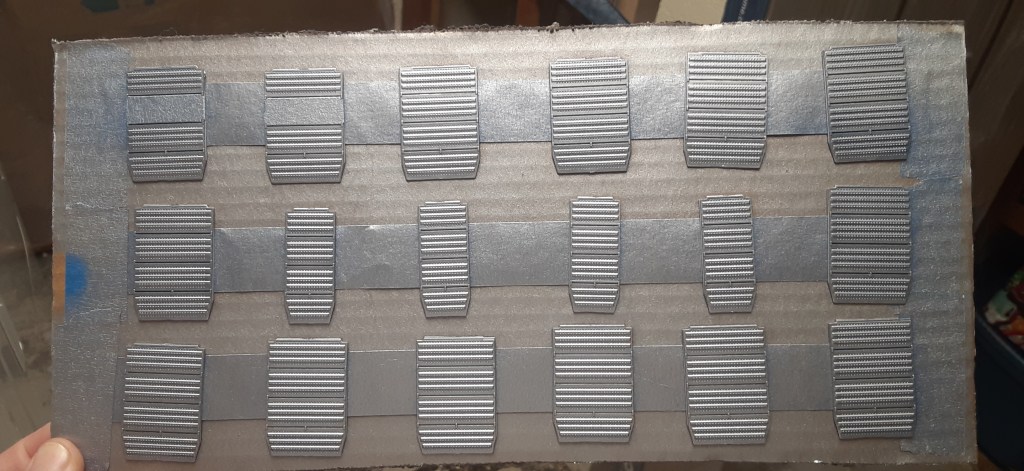
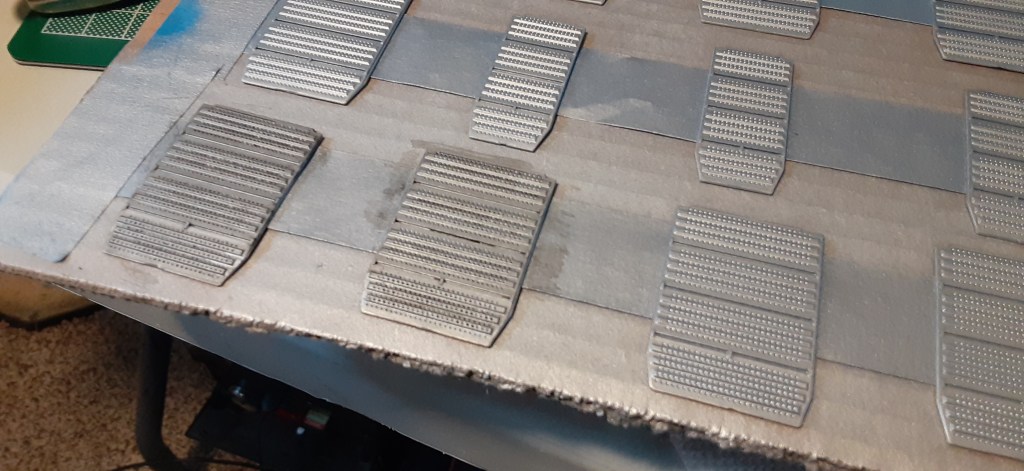
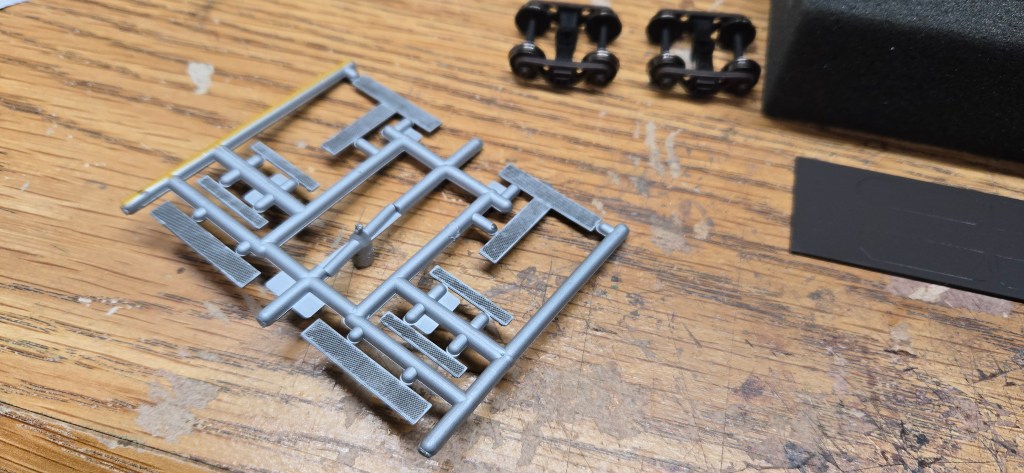
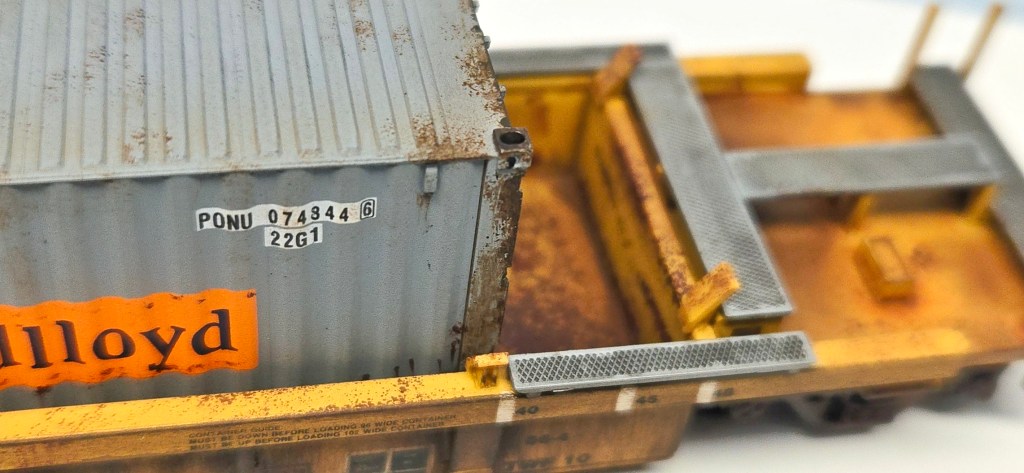
While the walkways were on the sprue it was an opportune time to highlight them with Vallejo dark gray model wash. This really brought out the tread detail. A final application was be done prior to sealing everything with flat clear.
WHEN PLANS CHANGE:
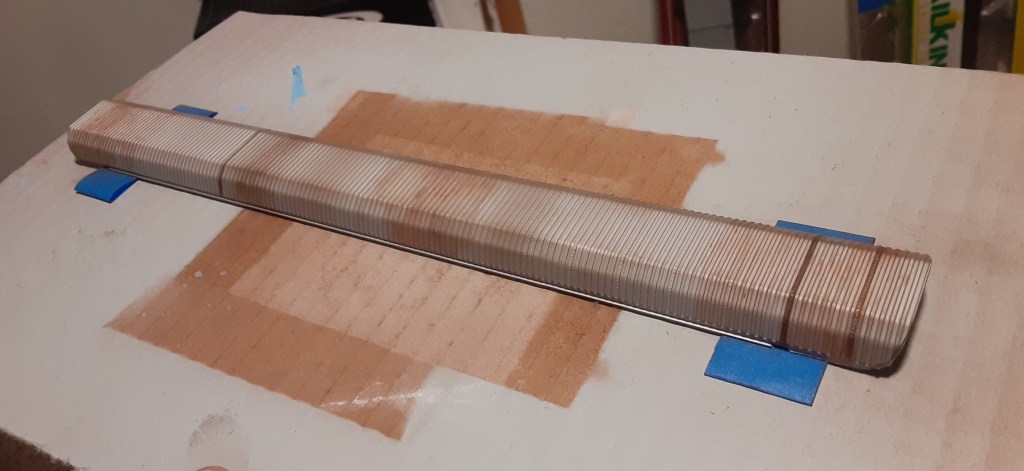
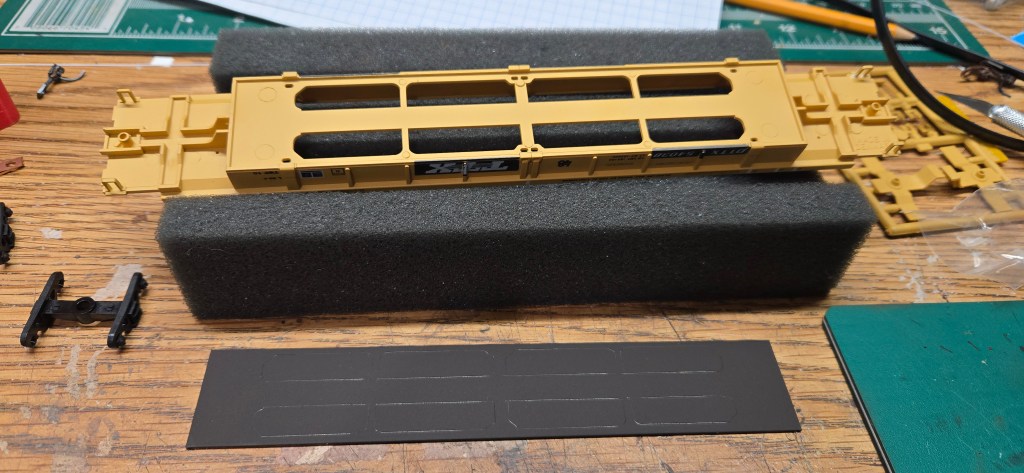
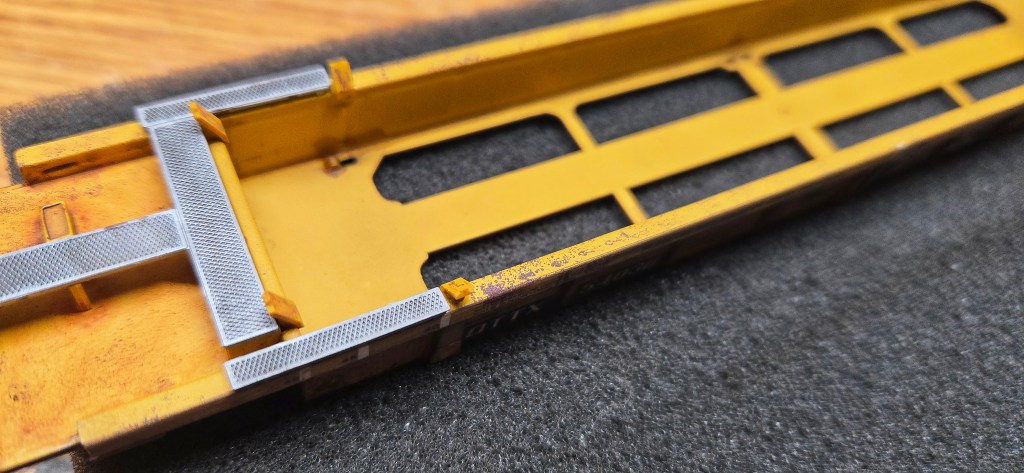
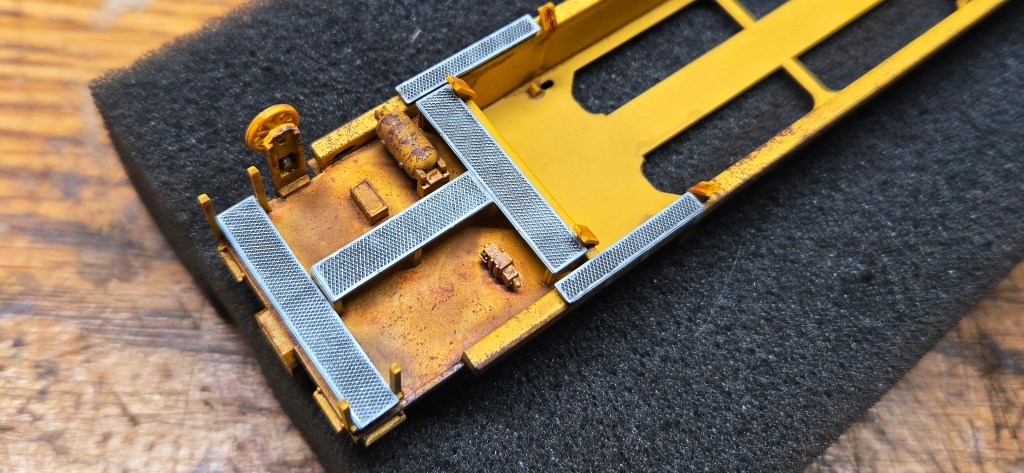
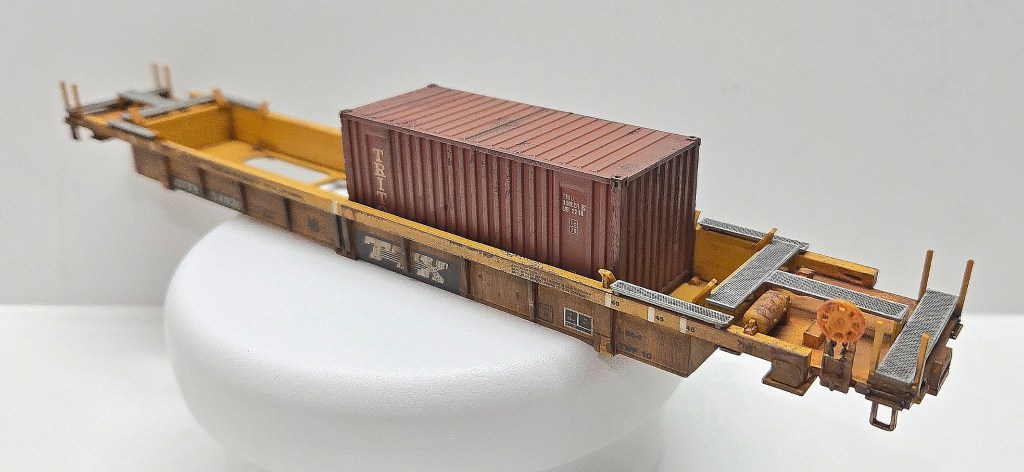
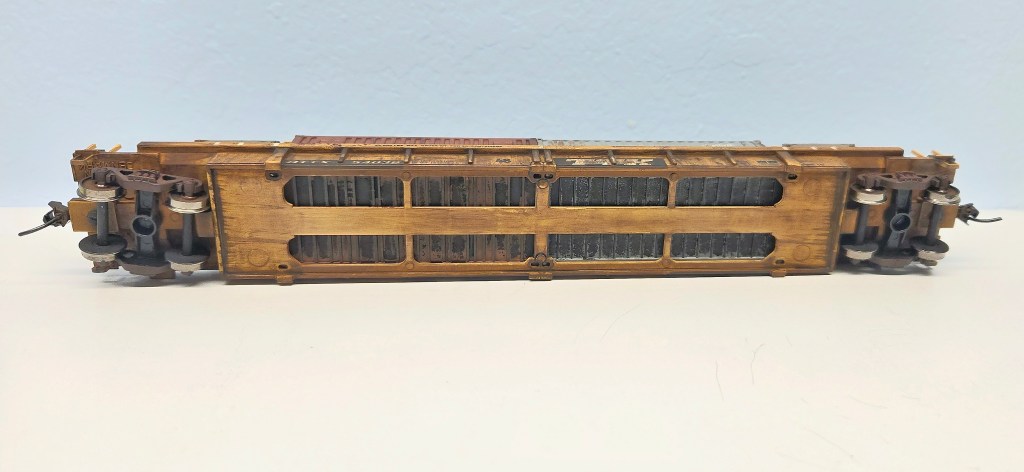
I chose to begin on the car’s underside since I decided not to use the weight that came with the kit. This was not my original plan, and in the photo below I had sprayed the weight a dark flat brown and traced the car body out with an idea to cut the slots in the metal. The end goal changed to model a more prototypically accurate car with two 20′ containers, which is where plan to weigh the containers came into play and to maintain the see-through well.
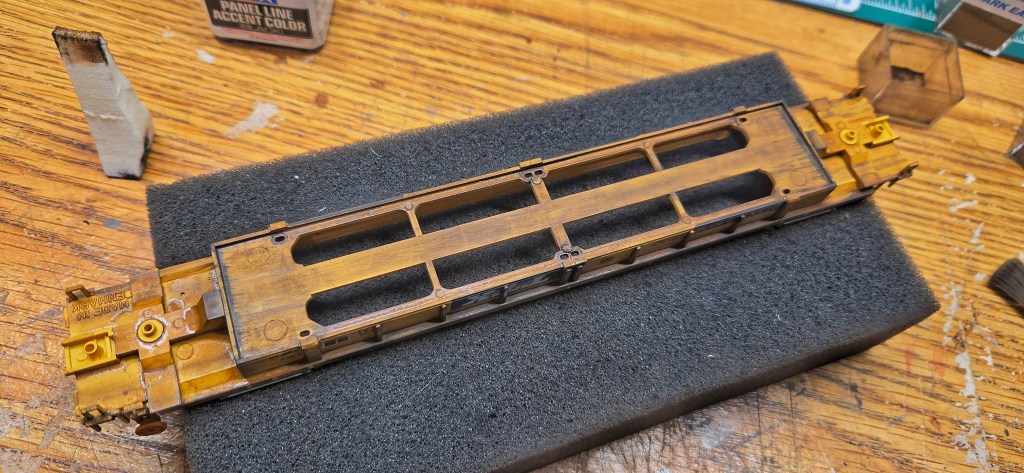
I used AIM Dark Earth to darken everything and create a base layer of streaks. I followed up with Tamiya brown panel line accent and topped it off with a drop or two of black. Creating the streaks was straight forward, a clean cosmetic wedge was perfect to drag the grimy fluid across the surface leaving the horizontal streaks.
MY PROCESS CONTINUED:
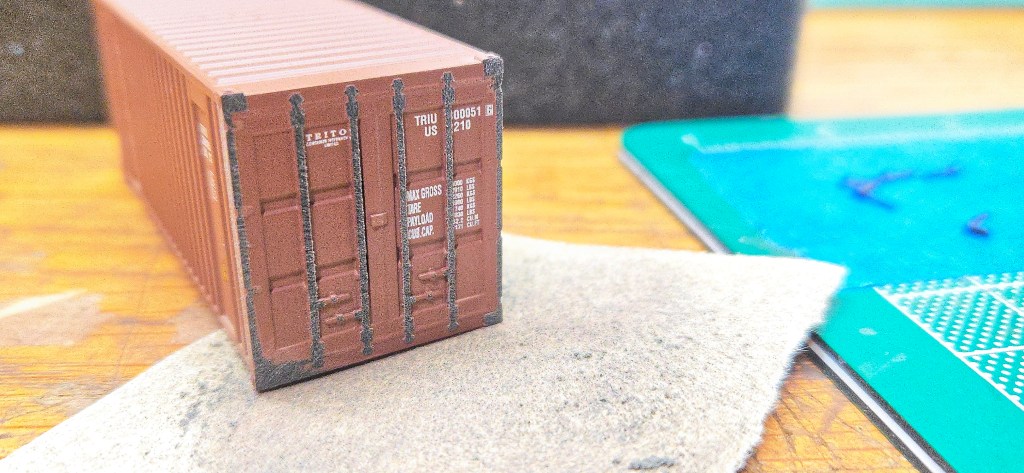
Once the underside was dried (about 16 hours) I started by adding some small rusty spots on the air reservoir and added some dark rust spots on the ends, below the walkways. I left these as is for now and moved onto the brake wheel side.
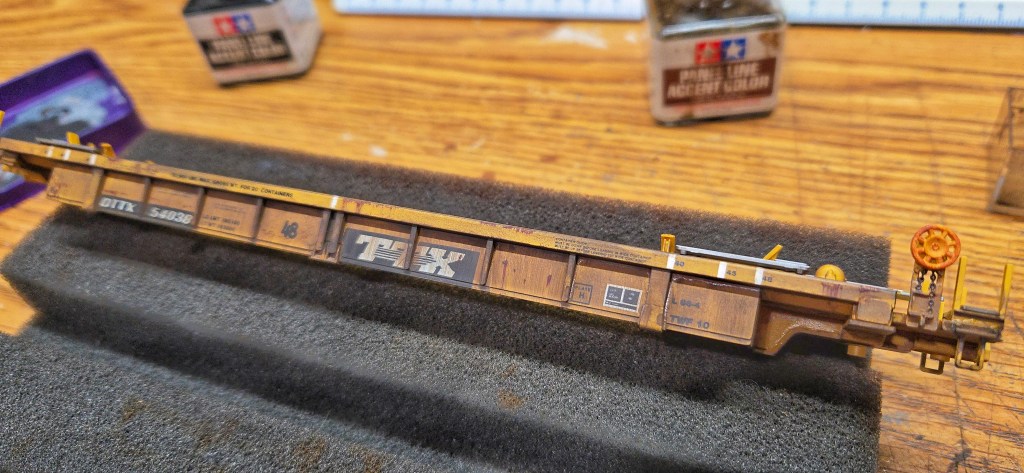
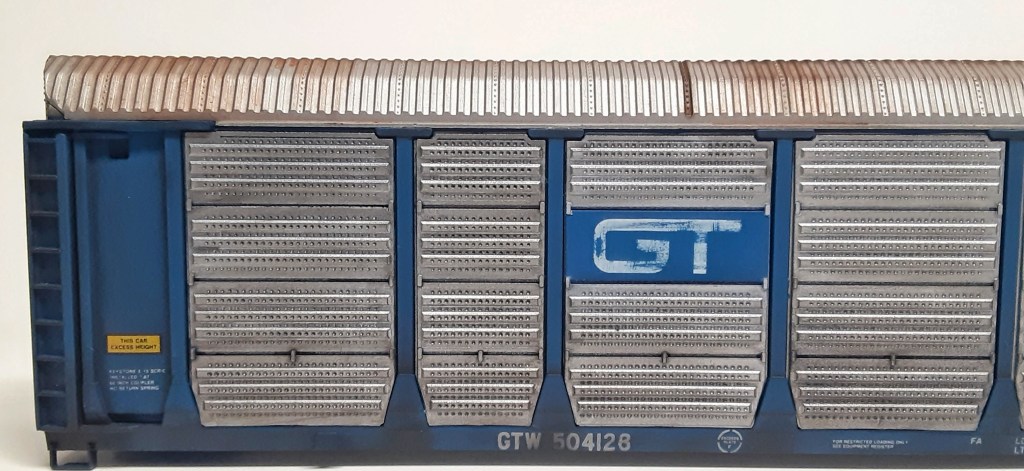
I used Tamiya brown panel line accent along all the hard edges as a base color to blend into. When mostly dry I came back with a 1/2″ wide x 1/2″ long flat brush to apply some Dark Earth powder by AIM along the lower edge of the car side. Doing this helped blend in the underside.
Working in an upwards motion I pulled the powder up the side. When the color looked right to me I took a cosmetic wedge with some of the brown panel line accent wash and drug the damp edge down to create the streaking effect.
I let this dry for about 4 hours and came back to apply some Tamiya XF-9 and -10, Hull Red and Flat Brown respectfully. Using a Microbrush tip without bristles works well to apply small dots and smears of paint to the car as rust spots. I then use a clean cosmetic wedge or a clean, dry brush and gently pull the paint down to simulate the rust streaks.
Layering Details:
When the streaking is complete I add a small dot of Flat Brown to the spot to darken the spot being simulated. I typically do not pull this color down to create more streaking.
Going along each of the car sides is an easy way to add the rust spots for me as I try not to over do the effect. It also appears more random as well.
I continue onto the opposite side when the previous is complete, then came back to finish the ends under each walkway. The well interior will be last to get weathered, I wanted to wait until the containers were here before continuing.
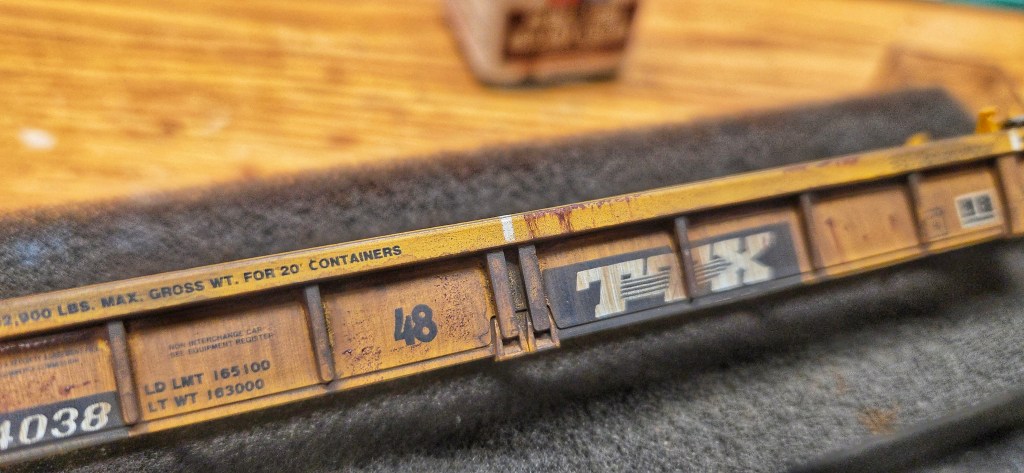
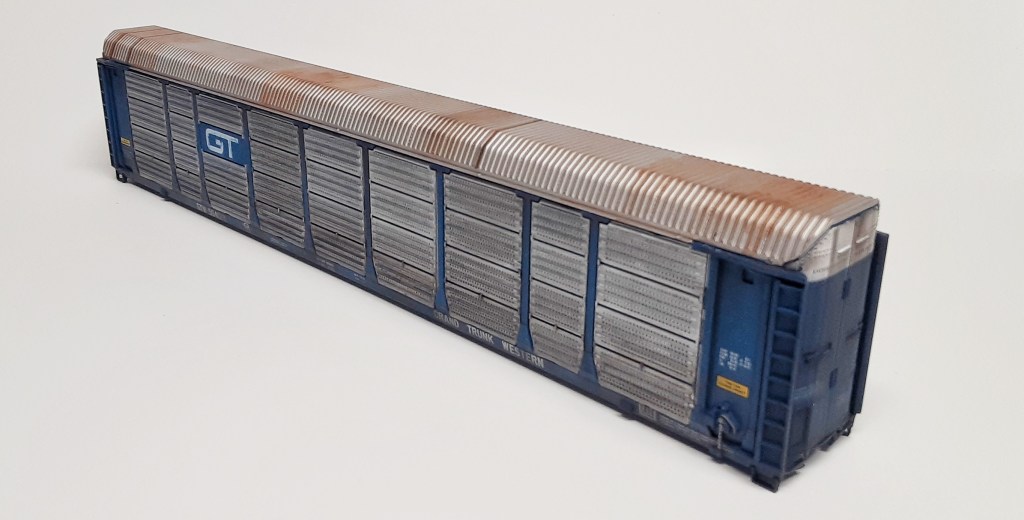
Starting on the opposite side of the car before work I wanted to have the base coat of grime ready when I was free in the evening.
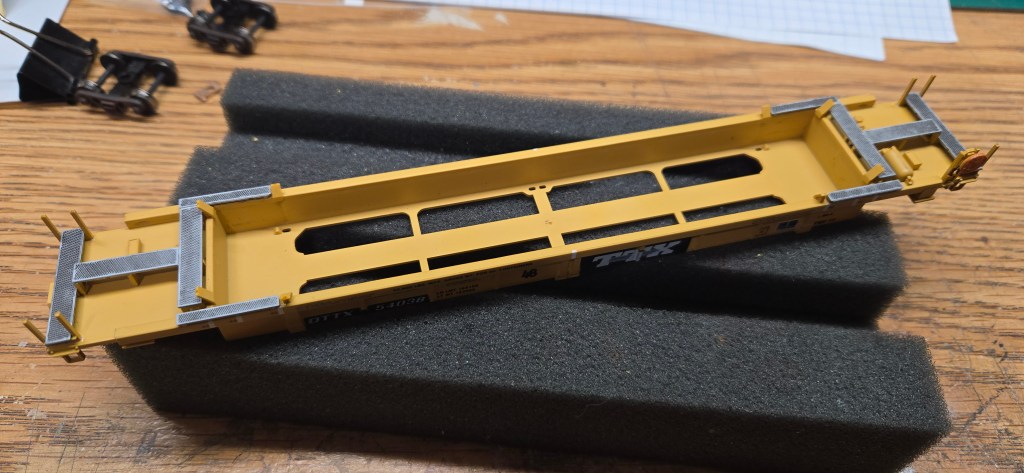
This side was done similarly to the other, I did add a few extra rust spots to the car side after the grimy streaks were dry. I also applied some rusty spots along both sides of the well and the start of scrapes on all eight of the guides. Doing this will ensure a nice layered base for a convincing oxidation effect.

I let all the paint set and cure for a couple hours before starting on the walkway ends. The spots and scrapes were not something I wanted to try and do over.
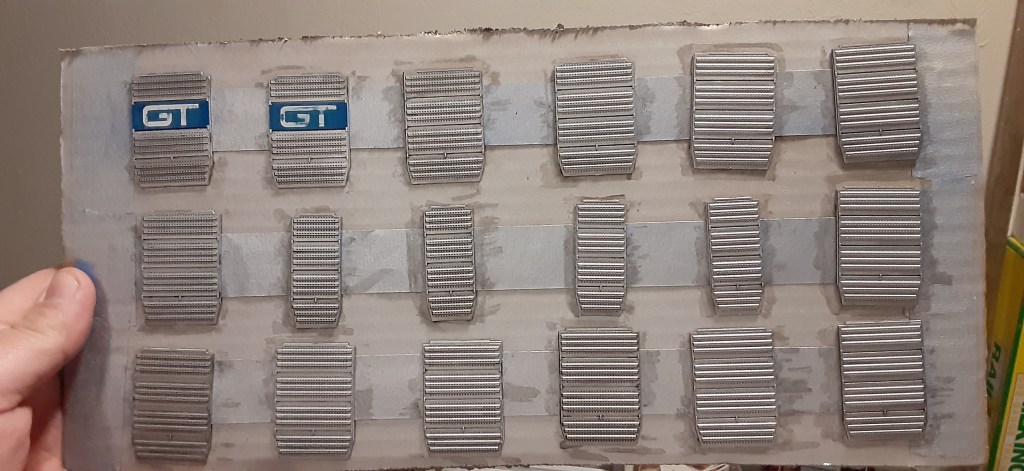
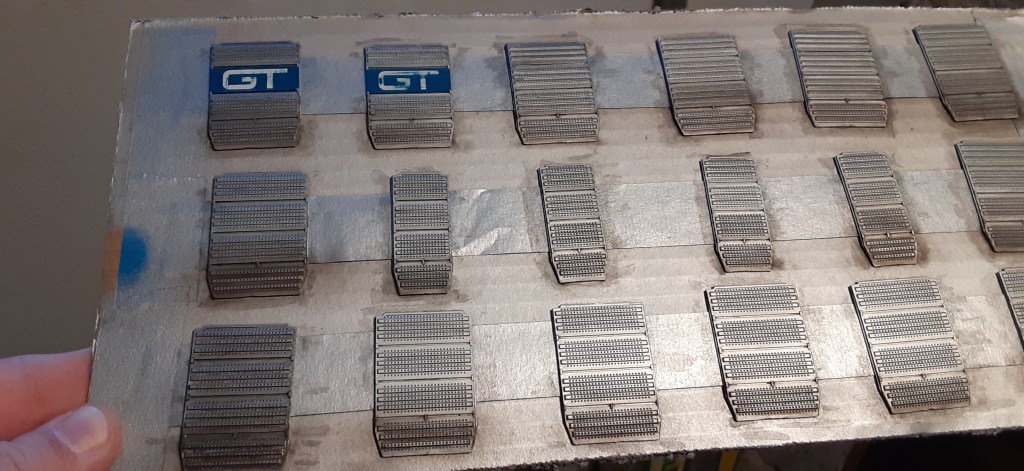
The technique I used is a one that I don’t typically use on smooth surfaces because it leaves a water spot look, but I got lucky here. The photos show a progression (of sorts) from being wet right after applying the fluid, then after it is dry and finally after I lightly brushed the AIM Dark Earth powder over the fully dried surface.


The fluid I’ve mentioned is a mix of 91% iso. alcohol and some Bragdon dark rust powder. The color is a reddish color and the powder is suspended in the alcohol when shaken. I then apply it over the surface and when it evaporates, the powder is essentially left behind and looks pretty close to how rust shows up randomly on flat surfaces.
When the alcohol had completely evaporated and the surface was dry, I went back over the area in some spots with a super soft brush and more AIM Dark Earth powder to blend some of the simulated grime across the surface. When I was satisfied with how that looked, I turned my attention to blending the underside up each end and around the coupler boxes.

I wanted the next step to be the well interior with scrape marks and more rust spots, but couldn’t start there until I got the containers. That actually happened on a Friday afternoon and did the initial test fit and some minor trimming later that day.
DETAILS MATTER:
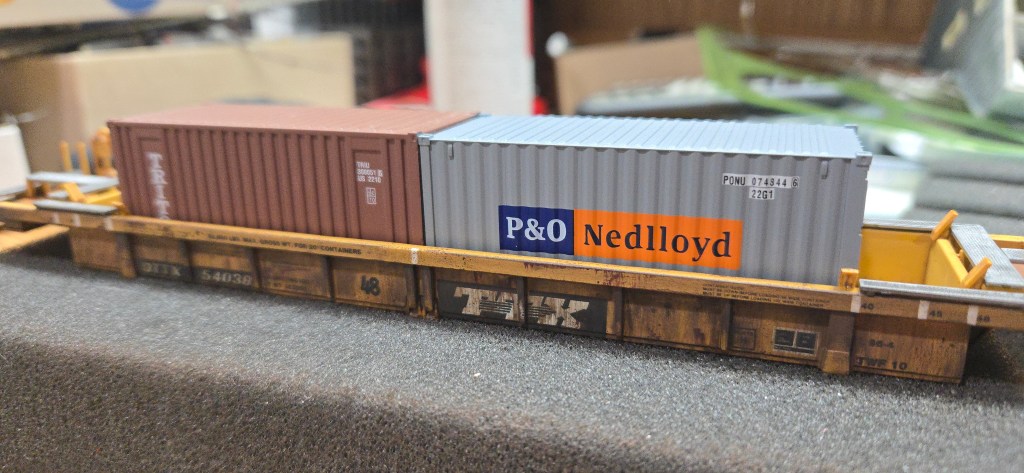
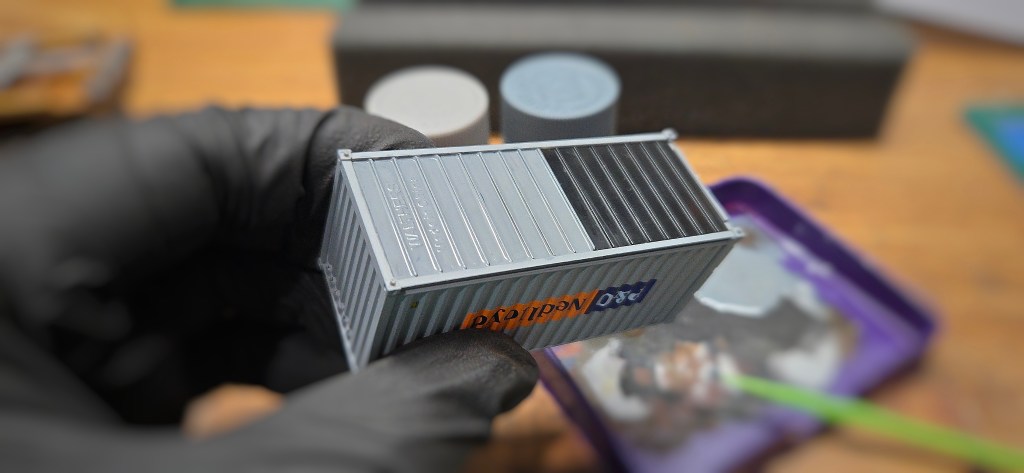
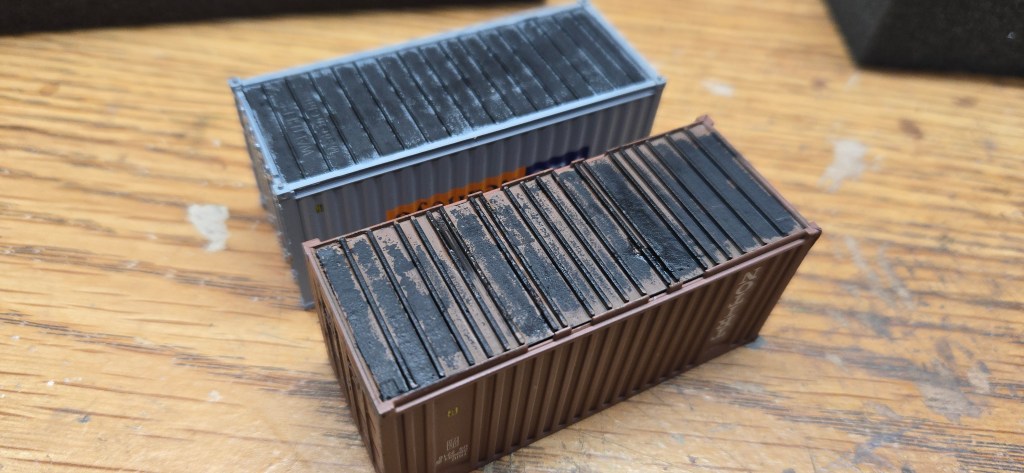
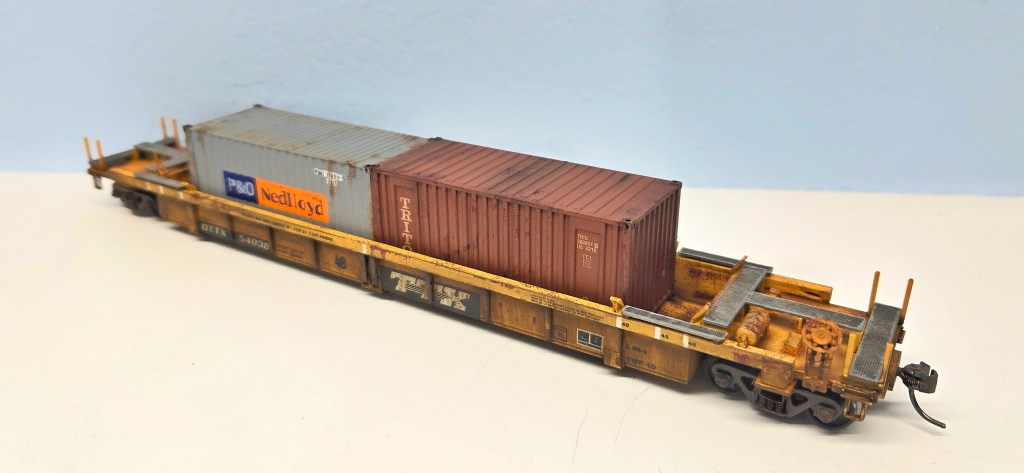
A detail that I had not mentioned yet, was that each container was from a different manufacturer. One newer Walthers and one was a much older Athearn blue box. I chose to do this specifically for a slight variation in the looks of them. Because the Walthers container has sharper printing and finer details I chose it to be the one with doors facing outwards.
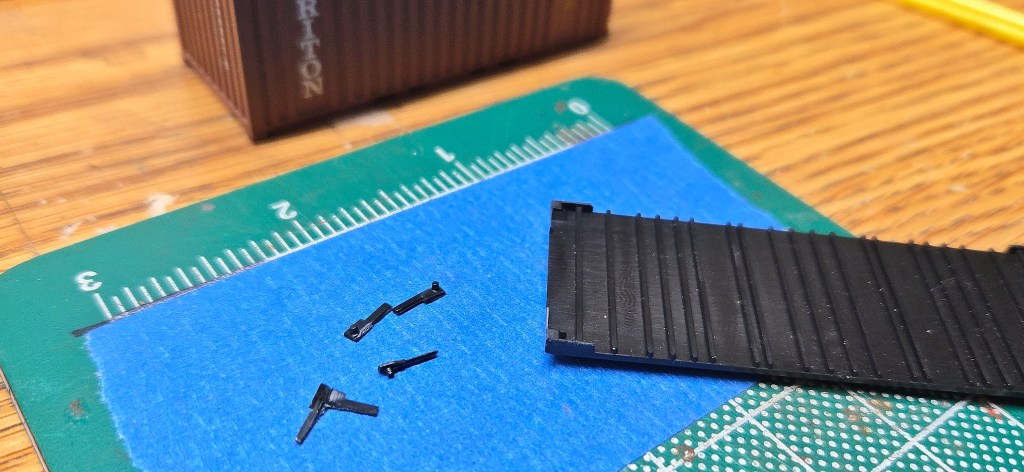
To get the Athearn container to sit pretty it needed some minor trimming. I trimmed off the pegs and raised footings that were molded into the plastic floor. This brought the overall height to just a hair taller than the Walthers.
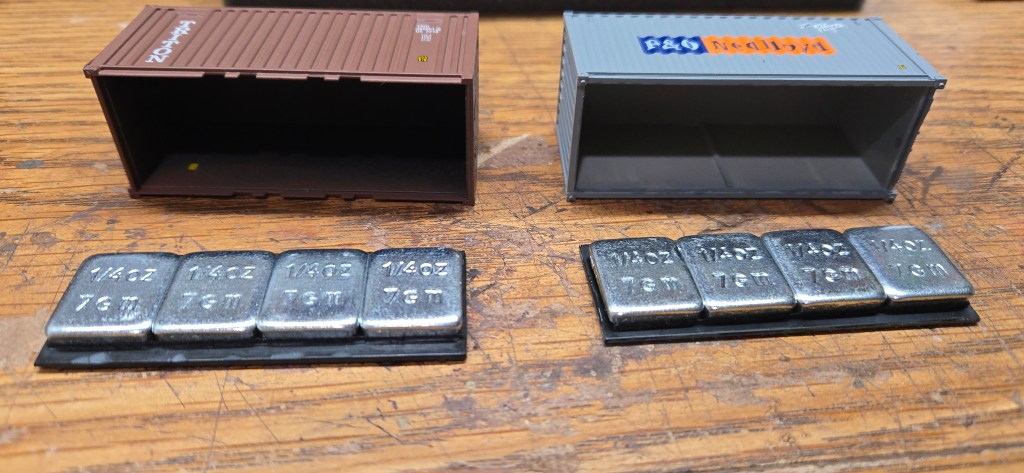
While the floors were removed I used some self-stick wheel weights to weight both containers, 1 ounce per.
To get the containers to fit between the molded alignment chocks in the car I needed to gently flatten all the oversized end door details on the Athearn container. I worked slowly and gradually sanded off the small amount that was needed for a better fit.
I then snapped the floors back together and added a couple small drops of CA to keep them stuck in place. Focusing on the floors and undersides, the next step was to color match the undersides.
MY PROCESS CONTINUES:
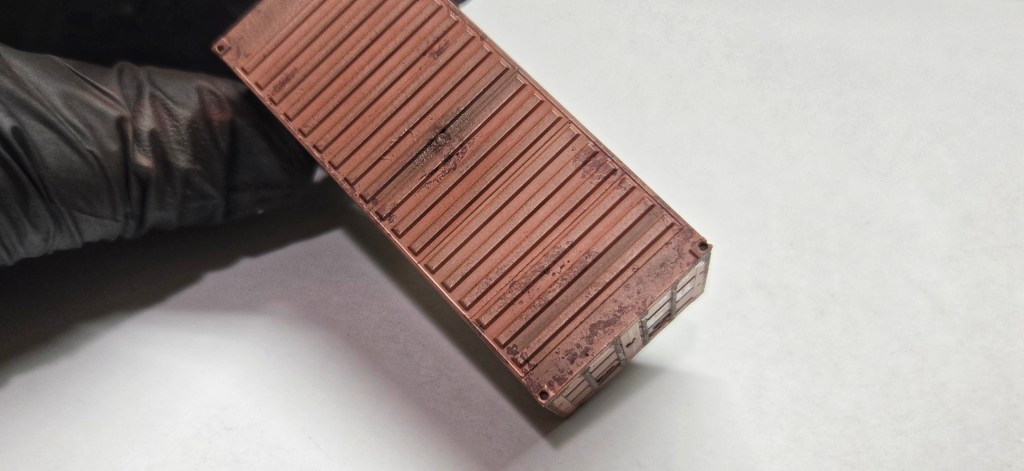
While the undersides are typically black or grimy black/brown from road grit, painting them gave me a good base for weathering them. Once dry I came back with a sponge and blotted flat black paint over the painted surface. This resulted in a chipped and peeling effect that I wanted to have showing through the open underside of this car.
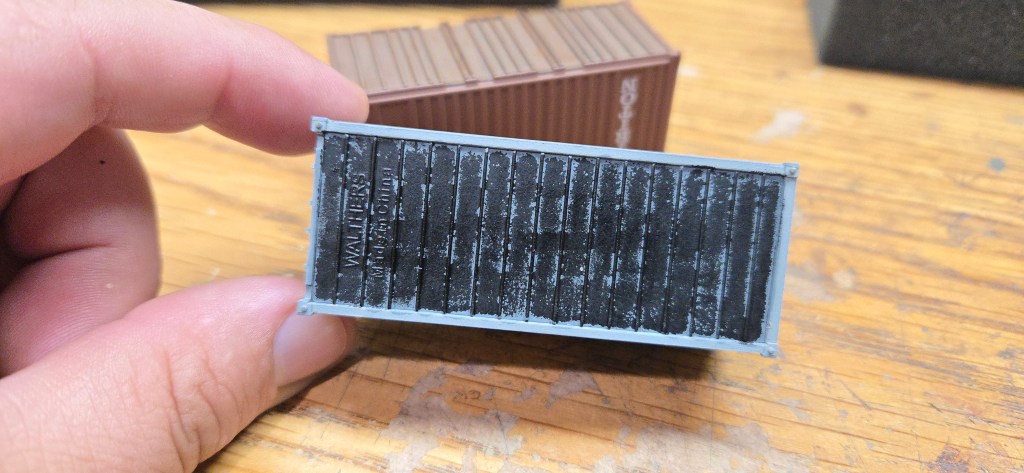
The flat black dried and that allowed me to finish them up by dry brushing some flat dark earth brown paint across the molded ribs for a more layered effect. I do wish that step had been more noticeable.
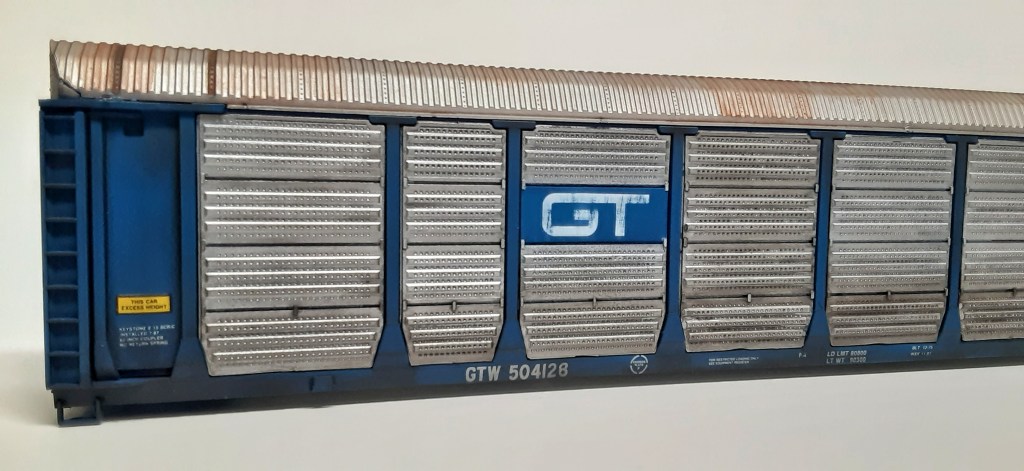
Next, I turned to weathering both containers. After looking at prototype pictures of similar ones, I tried to duplicate the colors and apply rust spots similarly to the photos.
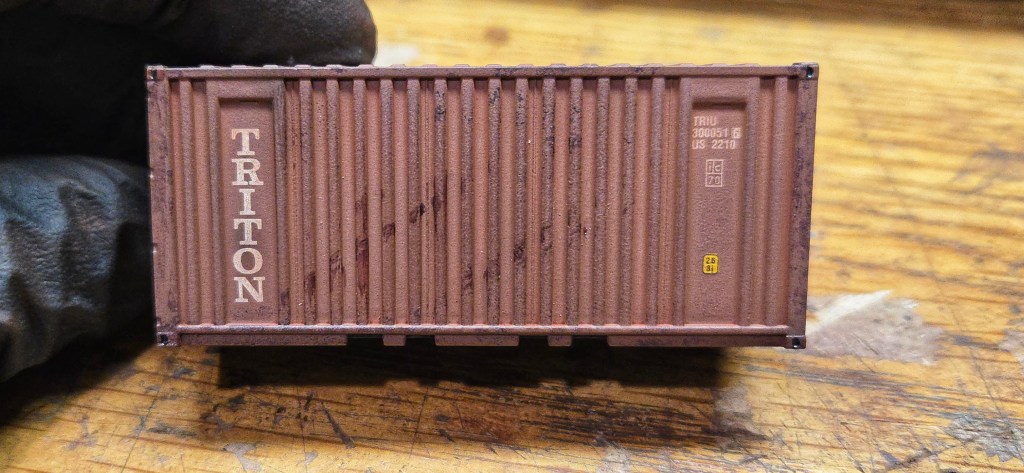
For the small rust spots I dipped a plastic toothpick into an assortment of Tamiya Hull Red, Flat Brown and Linoleum Deck Brown. Randomly touching the container sides with the small tip of the toothpick, I did about 5-8 spots then blotted or wiped them down with a cosmetic wedge.
On some spots this left a small void in the center of them, I went back later and filled the void with a contrasting rusty color to make them appear darker or more red.
When the spots were done I turned to more blotchy patches of rust. To do these I used a combination of Vallejo’s Game Colors Rust and Corrosion. Both work very well to create a deep rust color that looks believable as a rust spot.
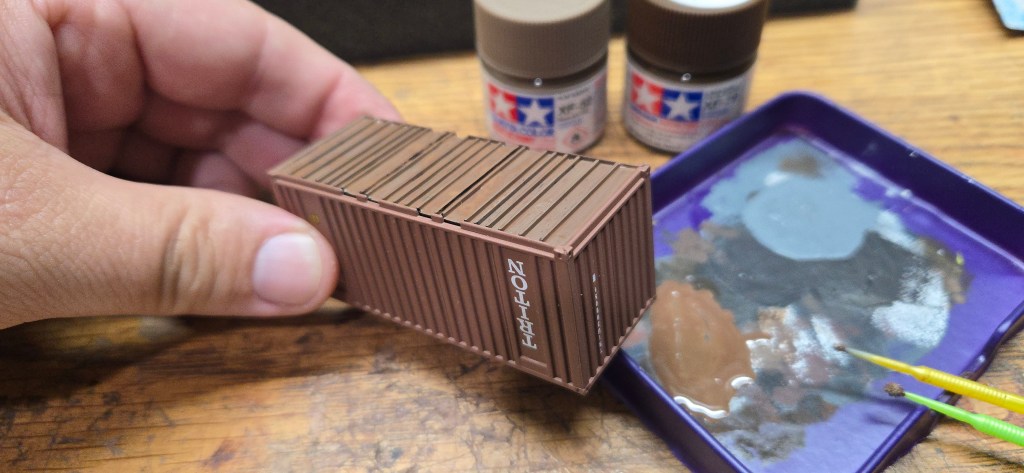
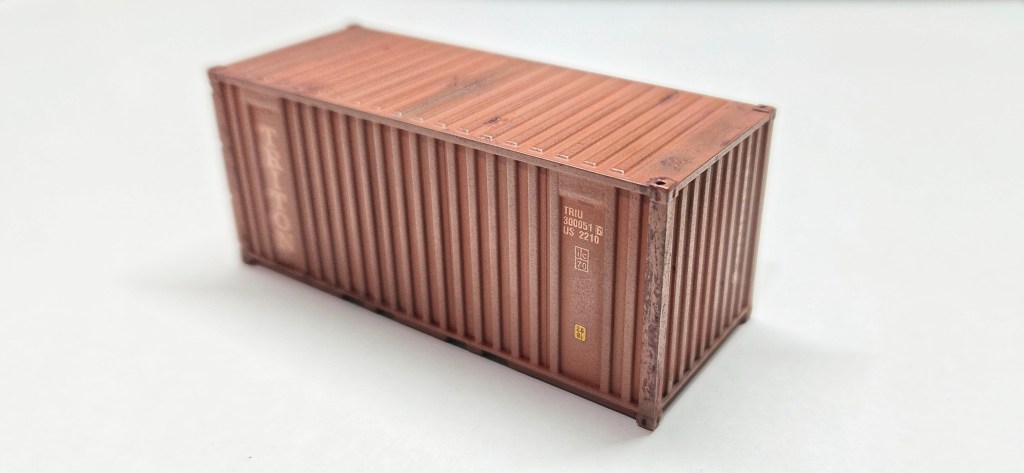
I also used some Bragdon dark rust powder to fade the TRITON Lines container from dark brown to the more oxide red/brown color I had seen. Everything was sealed with Tamiya TS-80 flat clear.
When everything had dried on the containers (overnight) I used some gel type CA to glue between the container ends and fit them in place so they would be properly aligned.
Next step was to weather the interior of the car and to do so I used the now glued together containers as my guide to see where the various lengths would maybe scrape and cause chips/dings to the car’s body.
I used a sharp edge of the cosmetic wedge dipped in a mix of hull red and flat brown with a small drop of flat black for darkness. I carefully and gently applied a few horizontal marks and clusters of spots with the edge and used a fine Microbrush to drag down the rust to simulate the scrape marks and natural streaking.
To finish off the car interior I used a 1/2″ wide, 1/4″ long flat brush to lightly apply the same AIM Dark Earth powder that I used underneath to the interior corners and blend out the rusty spots. I then sealed the entire car with Tamiya TS-80 flat clear and let it sit.
Last big step of the car was to glue the containers in place. I did this with more gel type CA and applying it sparingly to keep it from squeezing out from the ends or bottom. I came back a few hours later and used some Tamiya Extra Thin Cement to essentially plastic weld the four corners to the car bottom. This will ensure they stay in place, but also keeping the amount of glue at a minimum will allow for removal if that is ever needed.
As a final touch I dry brushed both Kadee #5 couplers with a mix of Tamiya Flat Brown and Flat Earth paint to simulate the road grime I applied in powder form. The color is a close match.
Just a note, I dry brushed the couplers to not hinder the knuckle movement and kept paint away from the spring.

FINAL THOUGHTS:
This was a fun project and allowed me to try some things that I had not tied previously. Overall this was a challenge not only because I tried something new, but because I had to exercise my patience. Typically this is not something I have to do, most of my weathering projects are done in a day or two as I do a lot of work ‘wet’.
Hopefully you all enjoyed this more in-depth project.