Skip to content
Dakota Modelers Group
Home
Blog
Videos
Meet the Authors!
Join Us
Author:
James Willmus
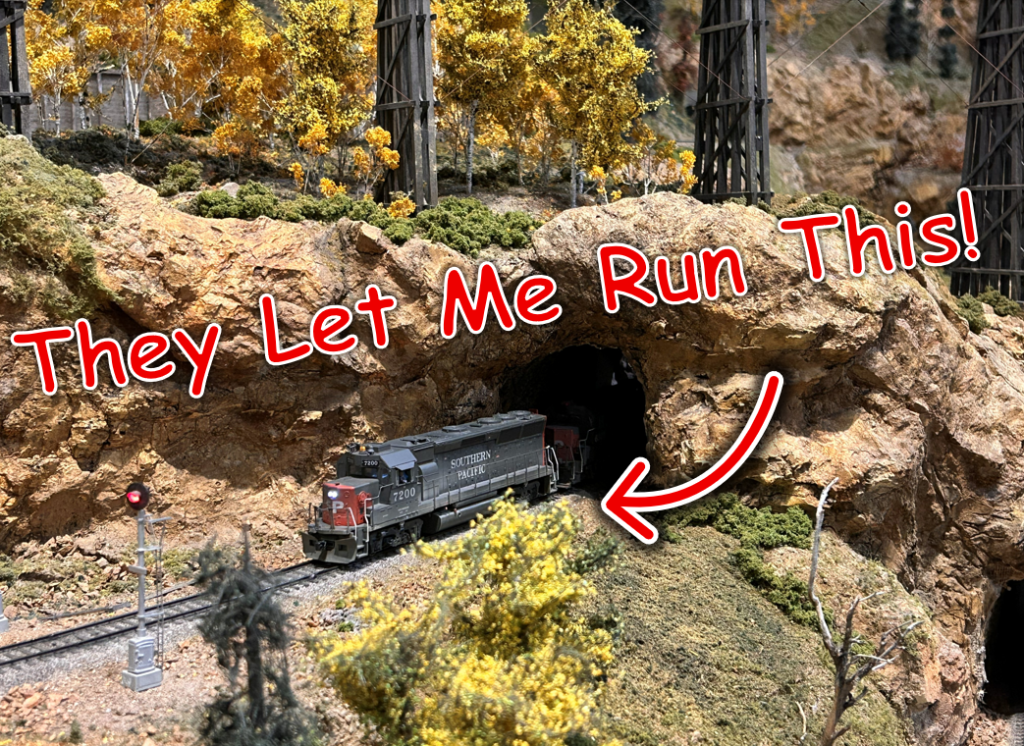
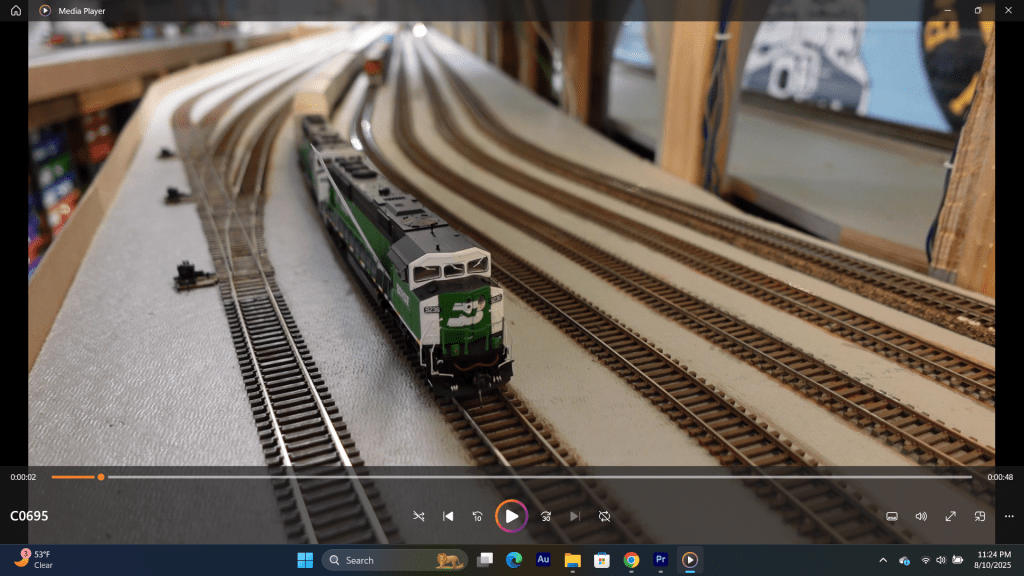
They Let Me Run a Train at the Colorado Model Railroad Museum! Colorado RPM 2025 Part 4
January 2, 2026
These Free-mo Modular Layouts are Amazing! Colorado RPM 2025 Part 3
January 2, 2026
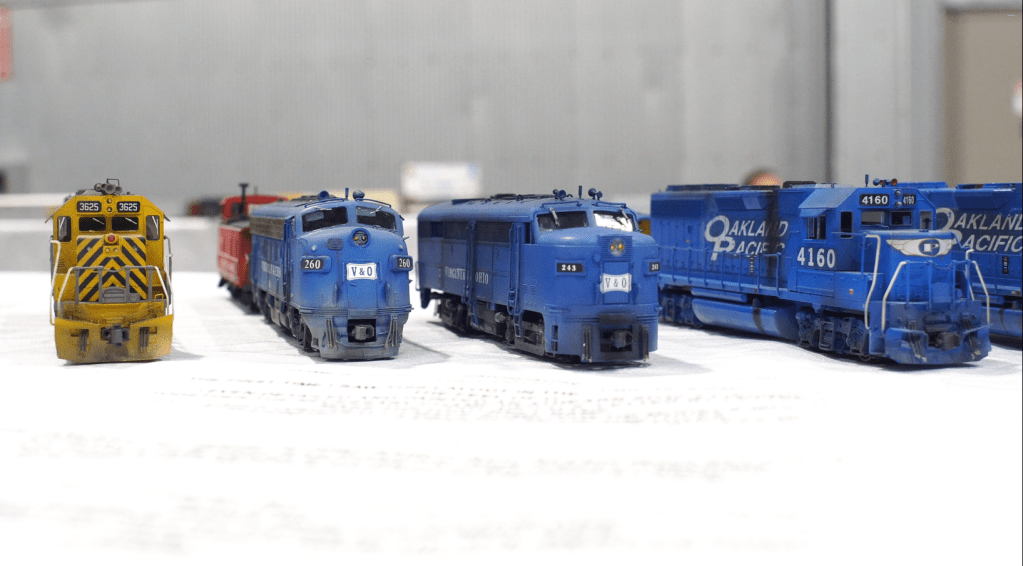
These Models are Fantastic! Colorado RPM 2025 Part 2
January 2, 2026
Rebuilding a Forest for the Colorado Model Railroad Museum: Colorado RPM 2025 Part 1
January 2, 2026
We Rode in this Unique Baldwin Locomotive!
January 2, 2026
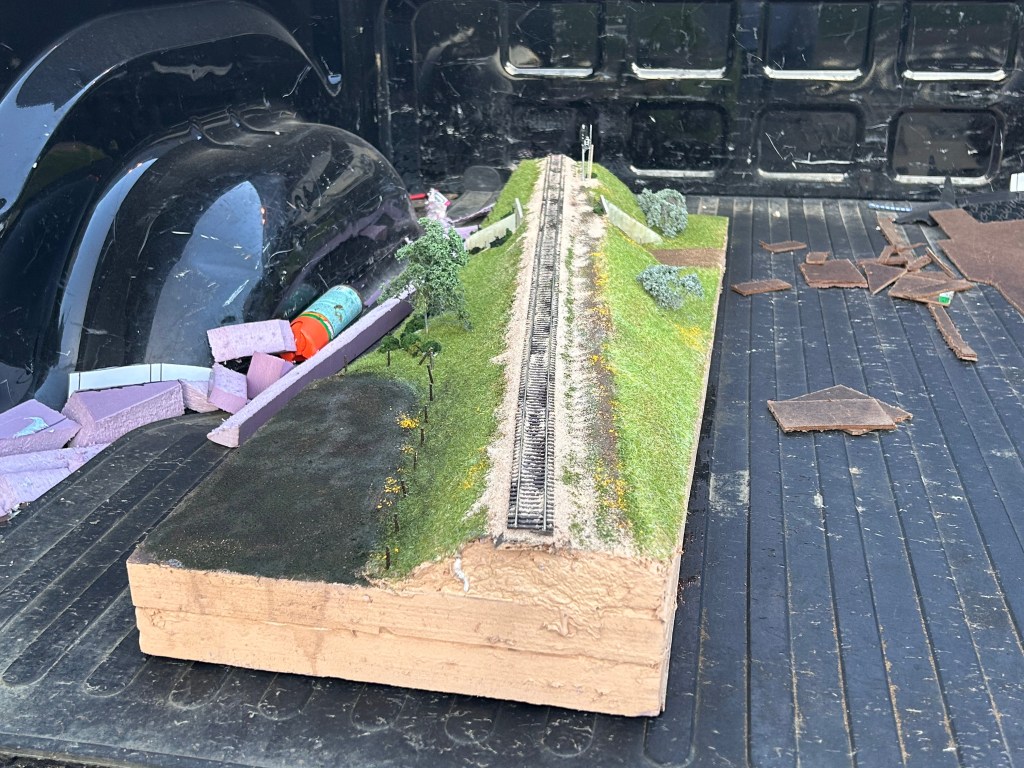
Diorama in a Day Challenge: We Put Our Skills to the Test!
January 2, 2026
We Tour the James Valley Model Railroad Association’s Massive HO Layout!
January 2, 2026
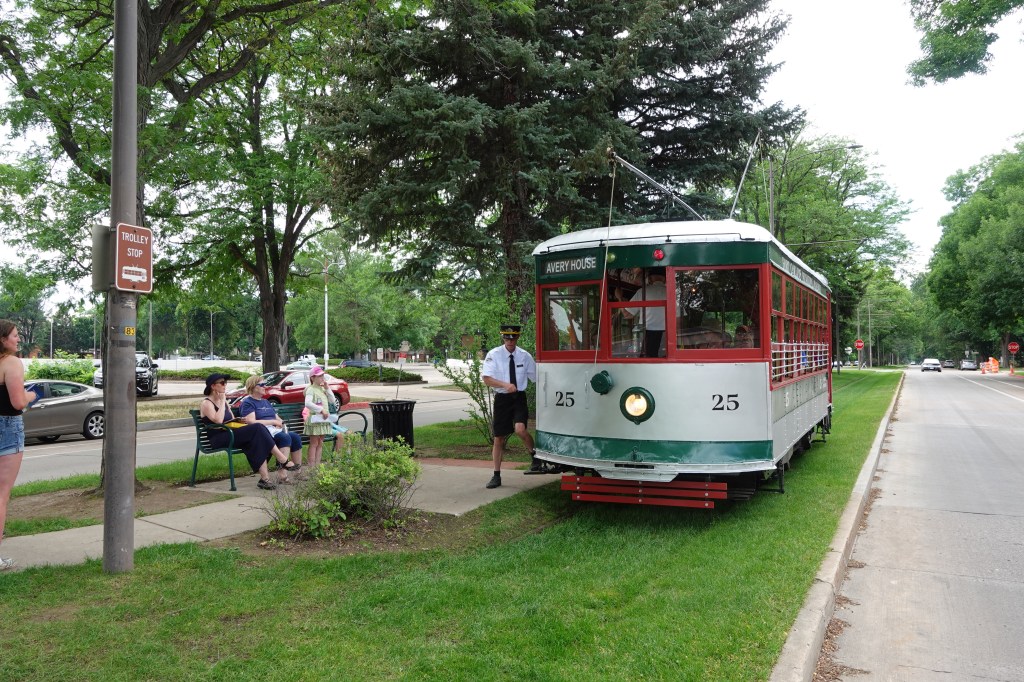
Experience Traction Action on the Fort Collins Trolley!
January 2, 2026
NCE vs Digitrax: Which System is Best for You?
January 2, 2026
Rocky Mountain Magic: Matthew Myers’ Fantastic Z Scale Layout
January 2, 2026
1
2
Next Page
→
Subscribe